Monday, October 10, 2016

Gratitude: CTMH Swan Lake Mini-Album

I have fallen in love with mini-albums and have been studying and learning about them for about a year.  During this journey I have shared with and dragged (quite willingly) my daughter-in-love, Regan.  I am so excited to share the upcoming workshop and album made with the Swan Lake paper packet from CTMH.

Regan and I will be teaching this album locally.  We also want to share this tutorial with our family and friends all over the place.

I am also so inspired by the tutorials offered by other consultants that I will be creating a tutorial on the album using a different "all-year" paper collection.

The local workshop will be held on October 29, from 10:00 am until 3:00 pm.  Message me or Regan on Facebook for more details.

There are several options for purchasing this workshop:

For the face-to-face workshop please make your purchase by Monday, October 17.  We want the materials to arrive in time and we will need time to prepare your kit.  (Chipboard for the mini-album will be included in your kit.)

Swan Lake Option 1 (includes deli lunch):


$50.00
Include deli lunch
shipping/handling/taxes
Items listed above
Kit precut for you
Instructional Guide


Swan Lake Option 2 (includes deli lunch):

$75.00
Include deli lunch
shipping/handling/taxes
Items listed above
Kit precut for you
Instructional Guide


Swan Lake Option 3:  (Instructional Guide only)

The instructional guide is free with a $25.00 purchase on my website, debbieandrews.ctmh.com.  The guide can also be purchased for $15.00.  This is a digital file and will be emailed upon completion of payment and/or website order.  (The guide is currently under construction and will be available after completion.)

I have listed the product used in this tutorial should you choose to purchase any of these items.  Of course, your order for the instructional guide only can be for any items available on  my website.  

Close To My Heart consultants, upon verification of your consultant site you will receive a license for teaching and sharing the instructional guide in face-to-face workshops/classes.  


or....


Adhesive - I also use and will have Scor-Tape available for purchase (construction of album)
Regan and I also use a liquid glue and tape runners (such as those available on my website)
Ink and Sponge for inking and distressing


Happy crafting!

Debbie and Regan


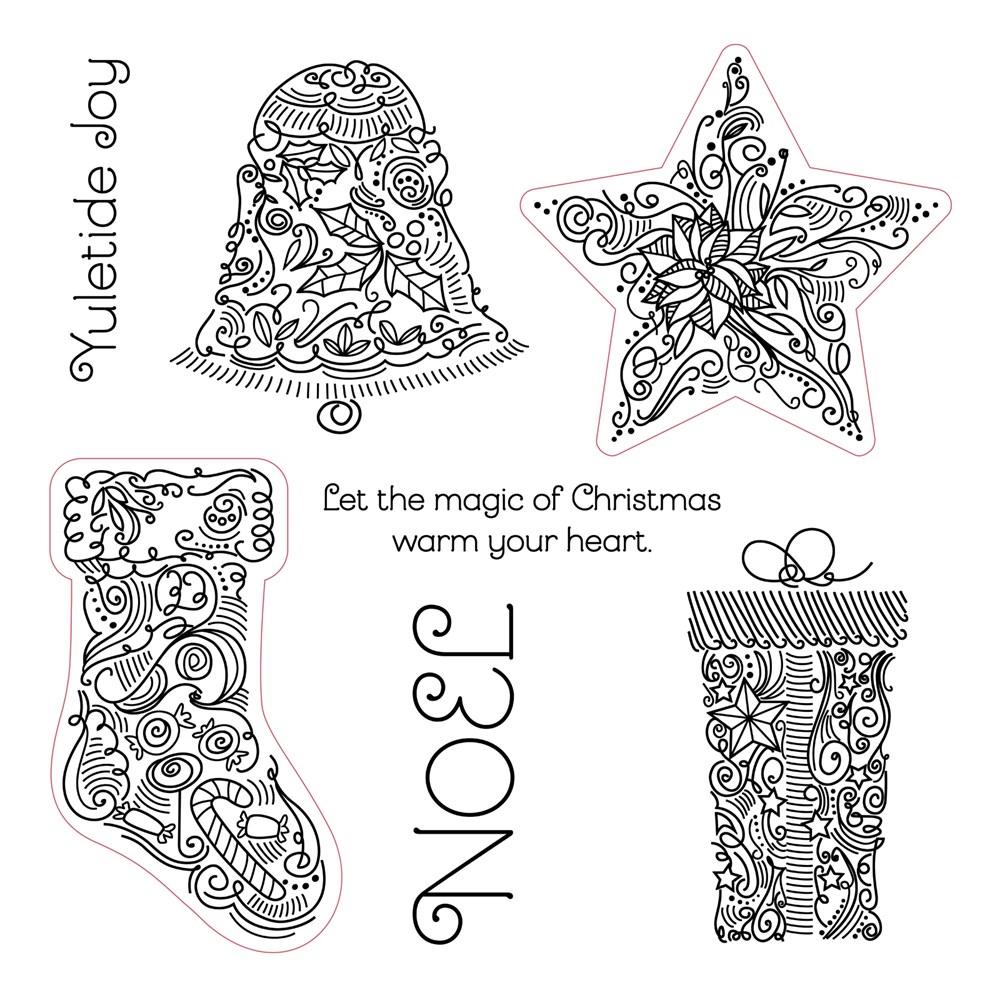
P.S.  Don't forget the October Stamp of the Month, S1610, Yuletide Joy is only $5.00 with a $50 purchase on my website.

The stamp can also be purchased for $17.95 without a qualifying purchase.

Make a Gratitude album and some Christmas tags or cards with the purchased SOTM.


This album was inspired by the pocket tag albums made by Ginger at MySistersScrapper.com.  Check out her blog and if you're ever in her neck of the woods, she teaches albums at her local scrapbook store.


Sunday, December 14, 2014

December Stampers with an Attitude Happy Holidays Blog Hop


Hi everyone!

Welcome to the December Stampers with an Attitude Happy Holidays Blog Hop. The Stampers with an Attitude are all part of Kimberly Moss's team.   If you arrived here from Catherine Nowak's blog, then you are in the right spot!  Don't you just love her work?

This month I chose to make a one-sheet wonder mini-album.  I want to send mini-albums to parents and grandparents to share our Christmas with them.  I will probably make one or two for me as well.  In January, I will be offering a workshop where we can remember our Christmas and look forward to 2015.


For this project I chose to use the Yuletide Carol Collection and gold and red Shimmer Trim.  I deliberately chose to not use inks and stamps on this particular album because I wanted to show how one could make a lovely mini-album with the purchase of one paper pack and perhaps embellishments and trim.


Part of the fun of making the album is cutting the paper.  I love how the paper in the Yuletide Carol collection has such interesting elements.  Notice how I chose to cut the paper so the yellow rose was featured.  I did the same with several of the prints, choosing to highlight sections which were of interest to me.

Mini-Album Pictures

Back of 12x12
Inside of Album 12x12
Back when top and bottom flaps are folded in
Inside with flaps folded


I modified the directions I found on Pinterest.  I used the tutorial from Sis Patterson @ Paper, Craft, and Scissors.  


Now head on over to Di Crawford's blog to see what she has in store for the holidays.

Happy hopping!

Deb


Sunday, October 12, 2014

October Stampers with an Attitude Artfully Sent Blog Hop


Welcome to the Stamper's with an Attitude October blog hop, featuring the new Close to My Heart Cricut Artfully Sent cartridge.  All stampers with an attitude are part of Kimberly Moss's team.  I'm starting the hop this month.  However, since a blog hop is circular if you came from Catherine Nowak's blog, you are in the right place.  

Let's get hopping!  I love the previous CTMH Cricut cartridges and I eagerly awaited the release of this one.  I was not disappointed with Artfully Sent!  As soon as I saw the cute overalls on page 23, I knew what I wanted to make. I made a banner for a new little one soon to be in my life.  


I did use a retired paper pack, Jubilee, to make the top layer of the tags.  I thought the country look of Jubilee would go well with those adorable overalls.  Here is a close-up of each letter.


The overalls were cut at 6" out of Outdoor Denim cardstock.  I also used the Art Philosophy Cricut cartridge to cut out the tags (8") out of Kraft cardstock and Jubilee paper.  When the overalls tags were finished I attached them to some baker's twine (also retired) with ruby clothespins.  Isn't it cute?

Other products used:

Ruby Chevron Washi Tape, Z1933
Mini-MedleyAccents Ruby Collection, Z1967
Honey Triangles Washi Tape, Z1931
Ruby Chevron Washi Tape, Z1933
Topiary Striped Washi Tape, Z2002
Durables Triangle Studs, Z1928
Sequins Gold Assortment, Z2012
Cocoa Exclusive Inks Stamp Pad, Z2114
Sanding Kit, Z1294

I also used the chevron ribbon I received FREE for a $50 order in October.  Don't miss out on yours.


Now it's time to hop on over to Denise Elliott's blog and see what she made with the Cricut Artfully Sent Collection.

Happy hopping!

Deb

October Stampers with an Attitude Artfully Sent Blog Hop List
  1. Debbie Andrews http://debspaperandscissors.blogspot.com/2014/10/october-stampers-with-attitude-artfully.html  YOU ARE HERE!
  2. Denise Elliott - http://inspiredbyd.blogspot.com/2014/10/art-with-attitude-blog-hop-artfully-sent.html
  3. Wendy Taylor - http://mistygirlinspirations.blogspot.com/2014/10/artfully-sent-artwork-blog-hop.html
  4. Sheila Bennett ~ http://sheila-bennett.blogspot.com/2014/10/artfully-sent-stampers-with-attitude.html
  5. Jen Patrick- http://roxybonds-scrappin.blogspot.com/2014/10/stampers-with-attitude-blog-hop.html
  6. Melinda Everitt ~ http://ifyoublingit.blogspot.com/2014/09/stampers-with-attitude-focus-on.html
  7. Melissa Robinson ~ http://mlisrobinson.blogspot.com/2014/10/stampers-with-attitude-artfully-sent.html
  8. Belinda McLane - http://bbmclane.blogspot.com/2014/10/octobers-stampers-with-attitude-blog.html
  9. Catherine Nowak~ http://wp.me/p3O1Id-D8


Thursday, September 18, 2014

Thinking a Little Christmas in September

Have you wondered about gifts this year?  I sure have been.  I've decided to do a little something for my family members who all have too much "stuff" anyway.  I'm going to make mini-albums!

Supplies:

Crush Book of your choice:  I used Bluebird.


A My Crush Assortment or two:


Chevron Ribbon:


Directions:

1.  Open the rings on the My Crush book and take out all of the pages.  Cut each page in half.  Choose a few pages (I used 12 half-pages) for your album.

2.  Ink the edges of your papers with cocoa ink and a sponge.  (Remember you can cut the sponges into 6 or 8 pieces for your distressing needs.)

3.  Choose pictures and cut them to fit your book as desired.  Using the My Crush Assortment packs embellish the pages as desired.

4.  Be sure to journal!  The stories are important!

5.  Stack the pages as you would like.

6.  Cut the ribbon into strips (about 8") and thread through every other hole on the side of your pages.  (I used 5 pieces of ribbon.

For less than $40 you can make at least 4 albums (and probably more!)


I love my album.  I keep it by my desk so I can look through and get a quick hug from my family pictures.  I can't wait to make some more of these for Christmas gifts.  I even think I'm going to get the Holiday Happenings My Crush book, assortment, and badge buttons to make 25 Days of Christmas albums.


May your days be merry and bright and happy scrapping!

Deb